Archive
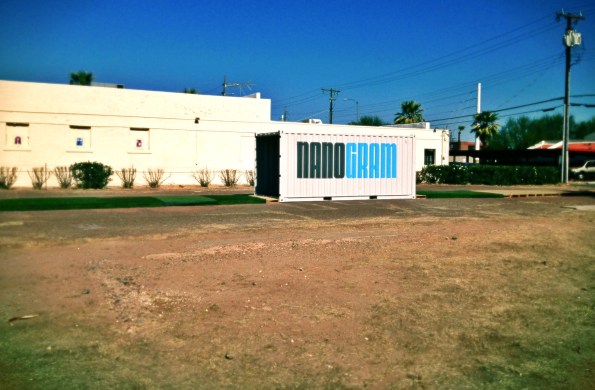

P|A|R|K Park : Nanogram|Studio + Phoenix Urban CoLab
Nanogram Studio (www.nanogram.co) and Phoenix Urban CoLab (PUC) join forces to create a pop-up park in downtown Phoenix deep in the heart of the Roosevelt Row (RoRo) Art District. This urban intervention is inspired by my belief in guerilla architecture as the solution for blighted areas in perpetual neglect. Thanks for the help to all of our supporters! If you ever want to expand the project contact us and lets build Phoenix.

How to create a Nolli Map 10 minutes
Grad school…remember the dreaded time-consuming and painstaking figure grounds that had to be manually traced in CAD? Nope there is an easier way. Use Maperative and export to Adobe Illustrator. I ran across a method of streamlining this process so I felt compelled to share. Spend more time designing and less time with context maps.
For full article : http://braincrunch.tumblr.com/post/9947074703/maperitive-tutorial-generating-osm-map-for-adobe
STEP 1. Download Maperative for free here: http://maperitive.net. Save to desktop and unzip. Run run Maperitive.exe (on Windows) or Maperitive.sh (on Linux/Mac).
STEP 2. Get Map/Download OSM Data: Visit: http://www.openstreetmap.org/ . Search for a location. I will choose Phoenix, AZ
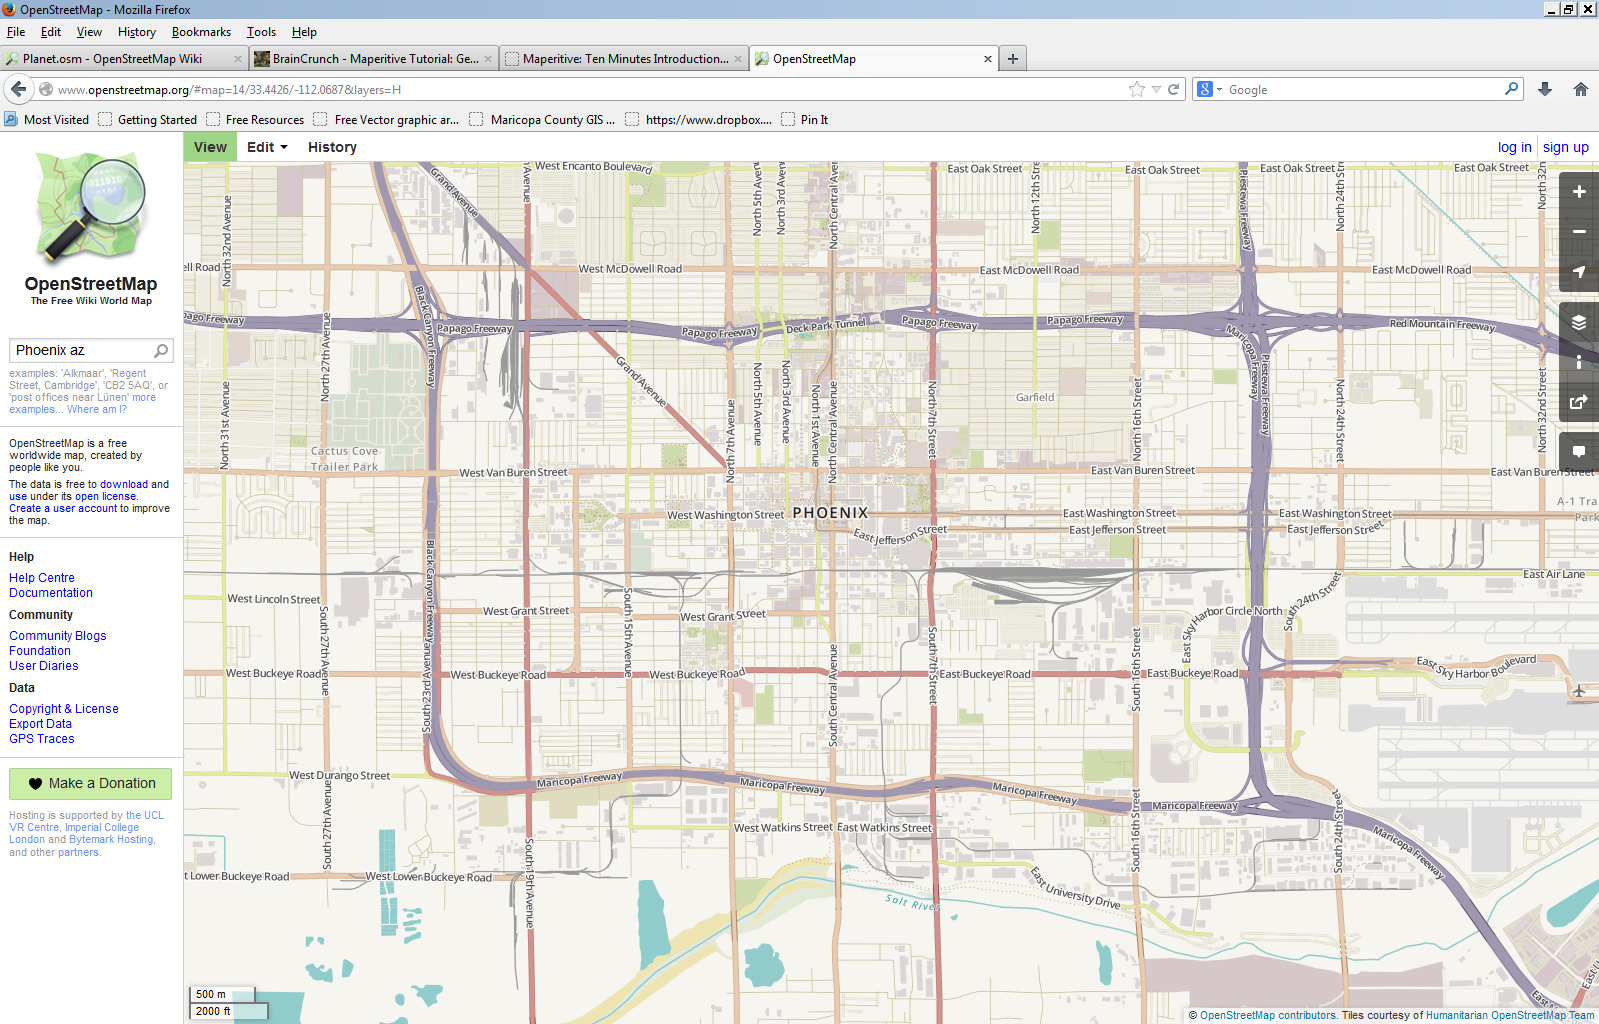
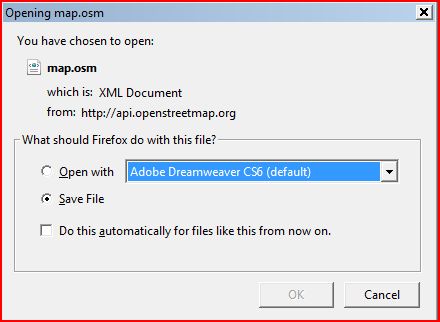
STEP 3. Export Data: Click on Export data on bottom left side of openstreetmap. Save file to desktop. File name is map.osm.

STEP 4: Open with Maperative. Launch Maperative. Choose File>Open Map Sources. Choose map.osm.

STEP 5: Turn off Web map. Click the star icon off for Web map located on bottom left of screen. Then Choose Tools> Export to SVG (For Adobe Illustrator). Note the location of the illustrator export file (Found on the bottom command line screen)


STEP 6: Launch Adobe Illustrator. Click File> Open> Navigate to the file called “output” and open.

STEP 7: In Illustrator, color vector lines as required.

